I teach computing to some brilliant students aged 11-18 in York, UK and one of my favourite parts of my job is when my students ask the “how” and “why” questions that connect the dots between the different topics and subjects that we learn in school.
This is the first in a series of posts that aims to fill in the gaps between topics to help you get you gain a fuller understanding of how computers work – from the ground up – connecting the dots between electronics, digital logic and code.
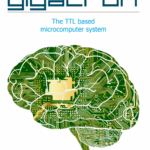
The end result of this series of blog posts will (hopefully) be a fully working 8 bit programmable computer: the Gigatron, hand soldered together using logic gates so that we can explore what each part of a computer does, how it works and how it all fits together.
Special thanks to Richard Pawson who very kindly provided all of the components for me and my students to start this adventure. building a Gigatron TTL 8 bit microcomputer. Whilst you can’t buy kits to make your own any more, all of the designs and instructions are freely available online.
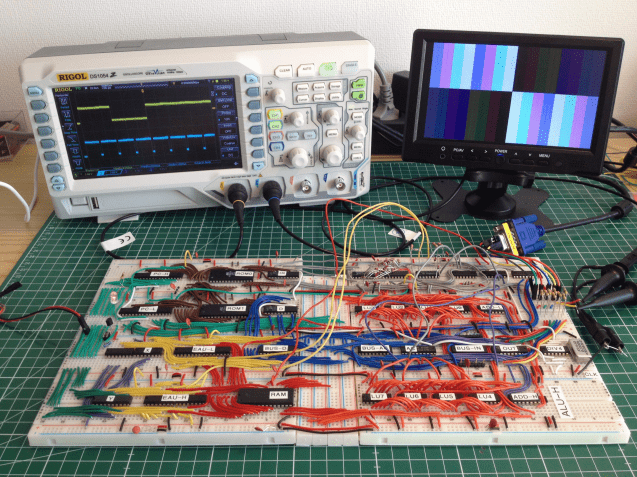
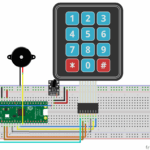
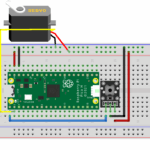
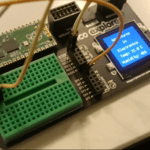
The animation above shows a simulation of what we’re working towards. I’m not designing this from scratch: I’m following instructions and using a kit designed by Marcel van Kervinck and Walter Belgers to build a general purpose computer using simple TTL (transistor-transistor logic). The original prototype was constructed using ICs on breadboards with wires connecting all the components:
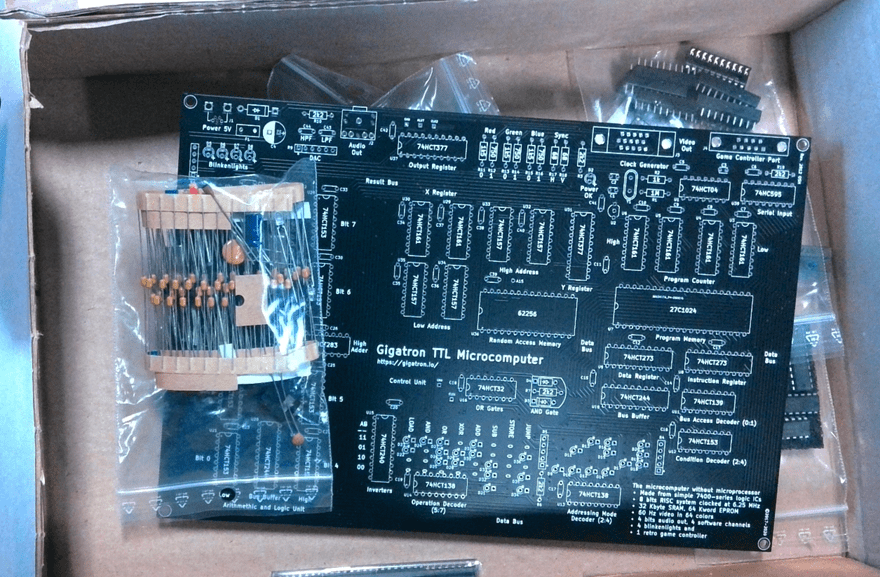
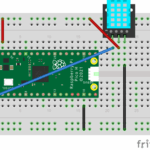
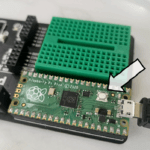
My starting point is much simpler: it still uses the same components (no microcontrollers / arduinos / raspberry Pis involved) but the PCB takes care of all of the wiring:
I run a Game Development Club for students on a Thursday after school and I’ll work with them to solder the components together and learn how everything works. I hope we’ll be able to make it work but I’m sure we’ll discover all sorts of things along the way.
I don’t claim to know or understand how everything is going to work (yet) but if you’re a student (or teacher) with an enquiring mind who’s interested in discovering more about code, electronics and computing then I hope you’ll get something useful from following the project progress.
I hope to use these blog posts to share all of the lightbulb discovery moments that my students and I have as we ask questions, make mistakes and slowly put together our own computer. I hope you enjoy the ride!
Table of contents

