Tag: computing
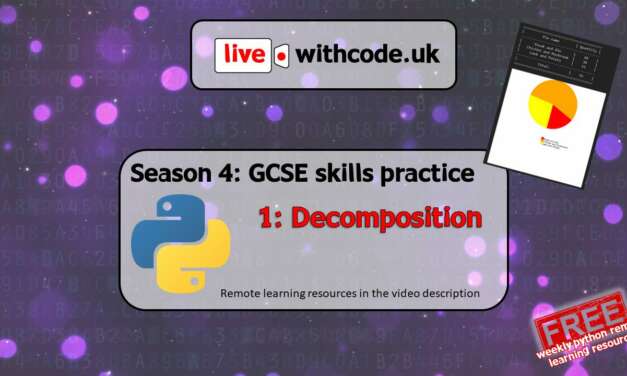
New season of live.withcode.uk: free python resources for GCSE Computer Science
Well done to all the students (and teachers!) who worked so hard to prepare for the first ever...
Read More
Free primary computing remote learning resources
I am in awe of primary teachers who are managing to teach students in school and send out home...
Read More
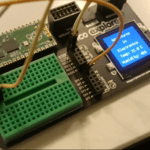
Python microbit basics: buttons and touch pins
This beginners tutorial talks you through how to write python programs for a micro:bit that can...
Read More
Python microbit basics: How to display images
This beginners tutorial talks you through how to get started displaying and manipulating images on...
Read More
Python microbit basics: How to display text
The screen on a micro:bit only has 25 pixels in a grid of 5×5 so it can only display one...
Read More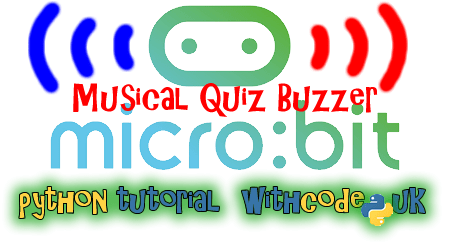
Musical quiz buzzer for BBC micro:bit: Python for beginners
Follow this step by step guide to turn a BBC micro:bit into a musical quiz buzzer: use it in class...
Read More
Flappy bird Micro:bit python tutorial for beginners
Follow these simple steps to code your own version of flappy bird on the BBC micro:bit. This...
Read More
Making computing accessible for all (6/6): Compassionate computing lessons
This post is the last of six in a series with ideas and resources on how to make computing...
Read More
Making computing accessible for all (5/6): Curious computing lessons
This post is the fifth of six in a series with ideas and resources on how to make computing...
Read More
Code your own bedroom door sign: python on a BBC micro:bit for beginners
This is a BBC micro:bit for beginners tutorial that shows you how to write some python code to...
Read More
Make computing competitive: What attracts you to computing? 4/6
This post is the forth of six in a series with ideas and resources on how to make computing...
Read More
Making computing accessible for all (2/6): Challenging computing lessons
This post is the second of six in a series with ideas and resources on how to make computing...
Read More