
Following on from the micro:bit python simulator on create.withcode.uk, many students and staff have requested a python simulator for the Raspberry Pi GPIO pins.
This quickstart guide talks you through how to start writing code for physical computing using the GPIO pins on a Raspberry Pi.
It’s designed for teaching students how to do physical computing without having to invest in a separate Raspberry Pi for each student.
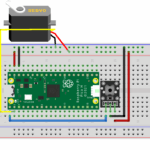
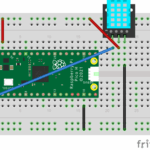
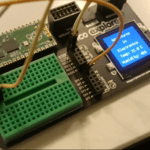
You can write, run, debug and share code that simulates the GPIO pins reading inputs and controlling outputs in a web browser then just have one (or more) Raspberry Pis set up with LEDs and switches connected up to demonstrate the same code.
This speeds up development time and reduces set up time and costs.
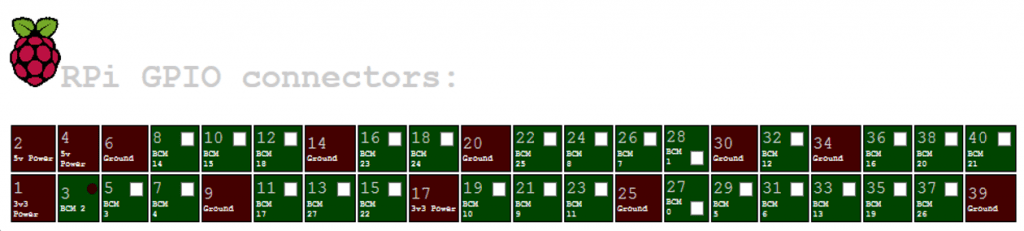
RPI GPIO Python simulator
Physical computing is much more fun when students can actually see their code controlling a real life device – so this isn’t designed to replace actually plugging in and connecting up the physical components.
This simulator is designed to supplement and complement the actual physical computing: to iron out the more frustrating parts of the development process so students can focus on tinkering with the code, debugging, sharing, collaborating and exploring.
Try out the RPI GPIO python simulator here: https://create.withcode.uk/python/A3
I hope it’s useful!


This is fantastic! I’ve just come across your site and am amazed at what you’ve built! Thank you for sharing this and well done!
Thanks-that’s really kind. Pleased someone’s found it useful.
can anybody explain me how to make decision on base of GPIO .i mean on input .E.g if i want to press one button and show output on other . i am beginner please guide me .
You can download a quickstart guide from here: https://blog.withcode.uk/wp-content/uploads/2016/10/RPi_GPIO_python_quickstart_guide.pdf
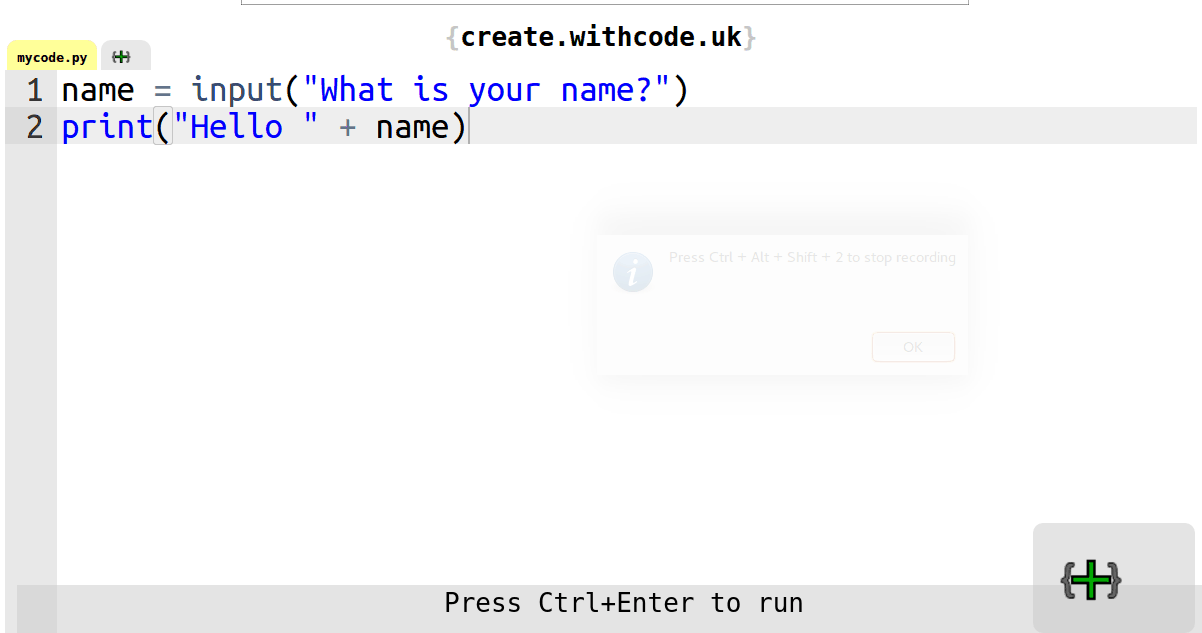
The code on the second page is what you’re after: reading inputs and setting outputs
You read an input using GPIO.input(pin_number) and set an output using GPIO.output(pin_number)
This is an awesome utility – can you share the GPIO simulator anywhere as I’d like to tie it to a more comprehensive circuit simulator, and virtualize the entire raspbian OS connected to this GPIO simulator.
Thanks for getting in touch – I’m pleased it’s useful. All the client side code is open source: have a look here: https://blog.withcode.uk/2016/08/create-withcode-uk-online-python-editor-is-now-open-source/
Let me know if you need any help – sounds like an interesting project.
Great work. Congratulations. I wonder if you have some examples running (PWM, analogue reading, …). As far as I understand you can only make “binary” IO, i.e., HIGH or LOW, is that right? can you for example light a LED with different intensity?
I am using this for assignments corrections. very good work 🙂
Hey, im getting the following error message when running the example script on “https://create.withcode.uk/python/A3”:
“ExternalError:/\((.*)\)/.exec(…) is null on line 3”
No changes where made. As im a beginner with python, i’m not able to troubleshoot it myself and google wasn’t helpfull as well.
Thanks.
Hello, sorry you’re having problems running the code. What browser/device are you using? I can’t recreate the error message on chrome / firefox / IE or android.